First flush: no water
Do not soak, mist or spray the kit.
Made for our exact kit type
No soaking, no misting and no added water before the first flush. This guide is specifically for our fully colonised kits.
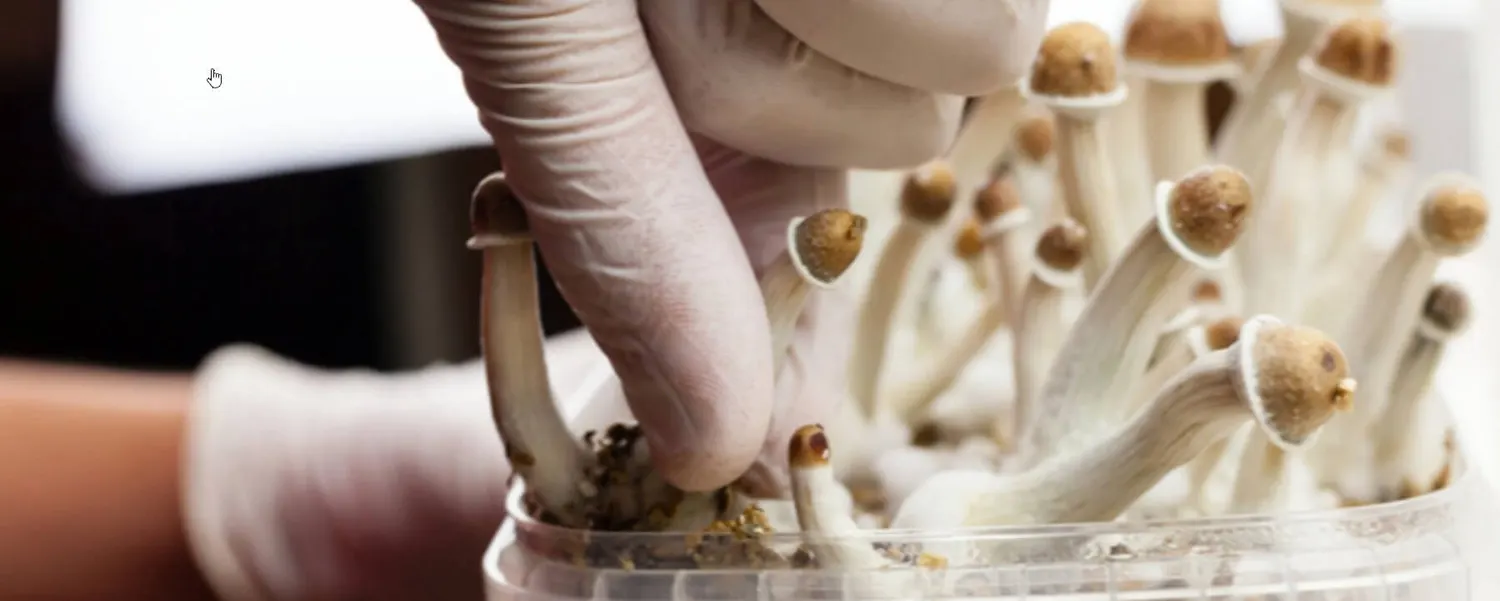
Grow kits are not interchangeable. These instructions apply to the 100% colonised mycelium kit sold in our webshop; methods for other kit types can damage this product.
Questions? Visit the FAQDo not soak, mist or spray the kit.
Keep the micro-perforated area facing upward.
Never place the kit in direct sun or on direct heat.
Step 1
Wash your hands, nails and forearms and clean the work surface. Take the grow tub, micro-perforated bag and clip from the carton. Remove the lid without touching the colonised surface. Rinse and dry the lid, then store it safely in the carton: you will need it after the first harvest.
Step 2
Do not soak the kit. Put the open grow tub inside the supplied bag. Fold or slide the bag opening underneath the tub so it is largely closed, with the micro-perforated area facing upward. The perforations provide the controlled air exchange needed during this first phase.
Step 3
A 100% mycelium kit already contains the moisture required to begin fruiting. Do not mist the bag, spray the substrate, pour water into the tub or open the bag for routine airing. Observe through the plastic and leave the protected microclimate undisturbed.
Step 4
Place the bag in indirect daylight, never in direct sun. Keep it away from radiators, cold draughts and strong airflow. A room between 18°C and 28°C can support development; around 23°C is the preferred target. Stable conditions are more useful than repeated movement or direct heat.
Step 5
Small rounded pins are the first visible young mushrooms. When they appear, stand the bag upright so the developing mushrooms have space. Continue without watering. As stems and caps become clearly established, leave the top slightly open so excess moisture can escape without exposing the kit unnecessarily.
Step 6
The first flush is often ready roughly a week after the first pins appear, although timing varies. Watch the caps and the veil beneath them. Harvest with clean hands as the caps open and before dark spores are released. Remove the remaining small mushrooms and pins before resetting the kit.
Step 7
Once the tub is empty, fill it with clean, cool tap water until the colonised block is submerged. This rehydration step is for the period between flushes only. Never apply it before the first flush and do not leave old mushroom material trapped beneath the lid.
Step 8
Replace the clean saved lid and let the filled tub rest for 12 hours. Then lift one corner carefully and drain all excess water. Remove the lid, return the tub to the grow bag and repeat from step 2. The cycle can be repeated while the kit remains healthy and continues to produce.
Why online guides conflict
Some kits need soaking before they start; this one does not. Others require daily misting; this one retains its own moisture for the first flush. Mixing instructions from different products is one of the easiest ways to create excess water, poor air exchange or unnecessary handling.
Look through the bag. Condensation can change and pins may appear unevenly. A quiet period is not automatically a failed kit.
If the block shrinks, a large gap appears around it or an unusual colour spreads, keep the bag closed and contact support with a clear description. Support can request photographs by reply when needed.
Water and the saved lid belong to the between-flush reset only, after every mushroom and remaining pin has been removed.
Avoid these common mistakes
When something looks wrong
Keep the kit closed, note the timeline and room conditions, and use the secure contact form with the order number and a precise description of what you see. Support can request a photograph in a reply if one is needed. Do not smell closely, touch a suspect area or combine remedies from unrelated grow guides.